
Color Accuracy in Photography: A Guide to Using Gray Cards and The Zone System

Unlocking the Secrets of Perfect Colors
Capturing the perfect color in your photographs isn't just about having a good eye—it's about mastering your camera's white balance and exposure settings. Whether you're using a DSLR, a mirrorless camera, or even an old-school film camera, understanding how to use these tools is crucial. Your camera's internal exposure meter, which is calibrated to 18% gray, is your secret weapon for achieving flawless exposure every time. But first, you need to understand what 18% gray—or middle gray—really means and how to find it amid a plethora of colors.
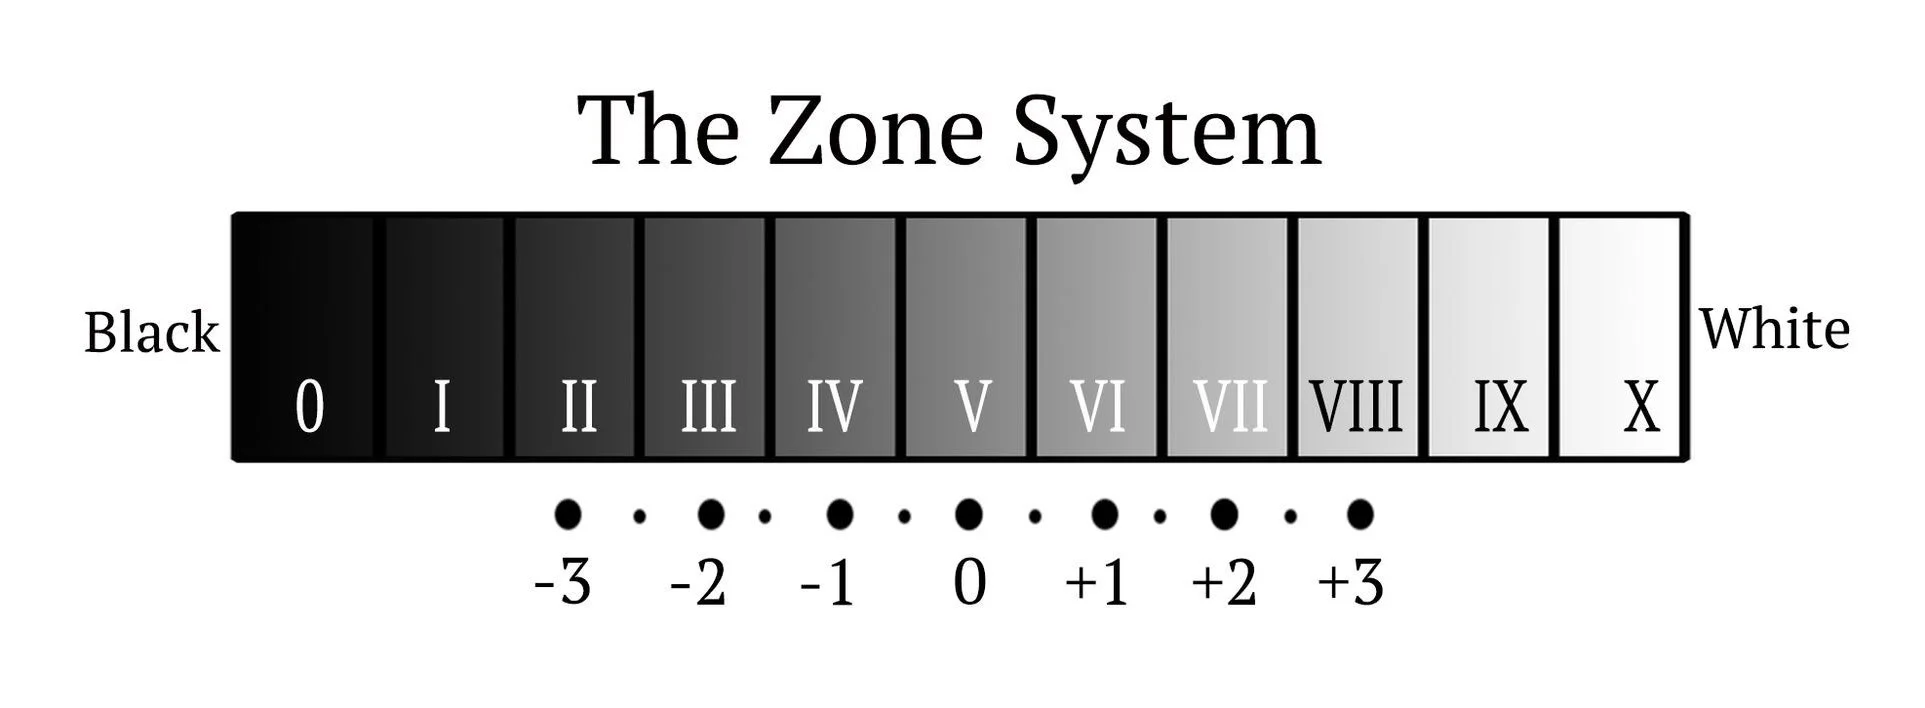
The Zone System: A Legacy of Ansel Adams
Developed by the legendary Ansel Adams and his colleague Fred Archer, The Zone System is a sophisticated method for measuring exposure. It divides the tonal scale into 11 distinct zones, from absolute black (Zone 0) to pure white (Zone X), with middle gray marked as Zone V. This system helps photographers understand how their cameras convert colors into tones, a critical skill for managing exposure and achieving accurate color representation.
The Practical Magic of a Gray Card
Using a gray card is straightforward and highly effective. Place the card next to your subject, ensuring it reflects the same light source, and adjust your camera's settings to capture an ideally exposed shot. This might take a few tries, but it's worth the effort. If you're working under artificial lighting, light the gray card in the same way as your subject to ensure consistency. Most cameras offer a "custom white balance" setting, which you should use to take a preliminary photo of the gray card, ideally repeating this step several times to confirm accuracy.
By manually adjusting your camera's white balance using a gray card, you gain control over the final look of your images. This technique is especially useful if you find yourself without a gray card, as it equips you with the knowledge to utilize The Zone System effectively.

Applying The Zone System in Everyday Photography
Finding middle gray in everyday scenarios is easier than you might think. Start by browsing through your digital photos. Select a well-exposed image and import it into Adobe Photoshop. Add a black and white layer and use the eyedropper tool to identify areas within the middle gray tone. You'll soon discover that middle gray is ubiquitous, present in various everyday scenes—from the blue of a clear sky to the green of lush grass.
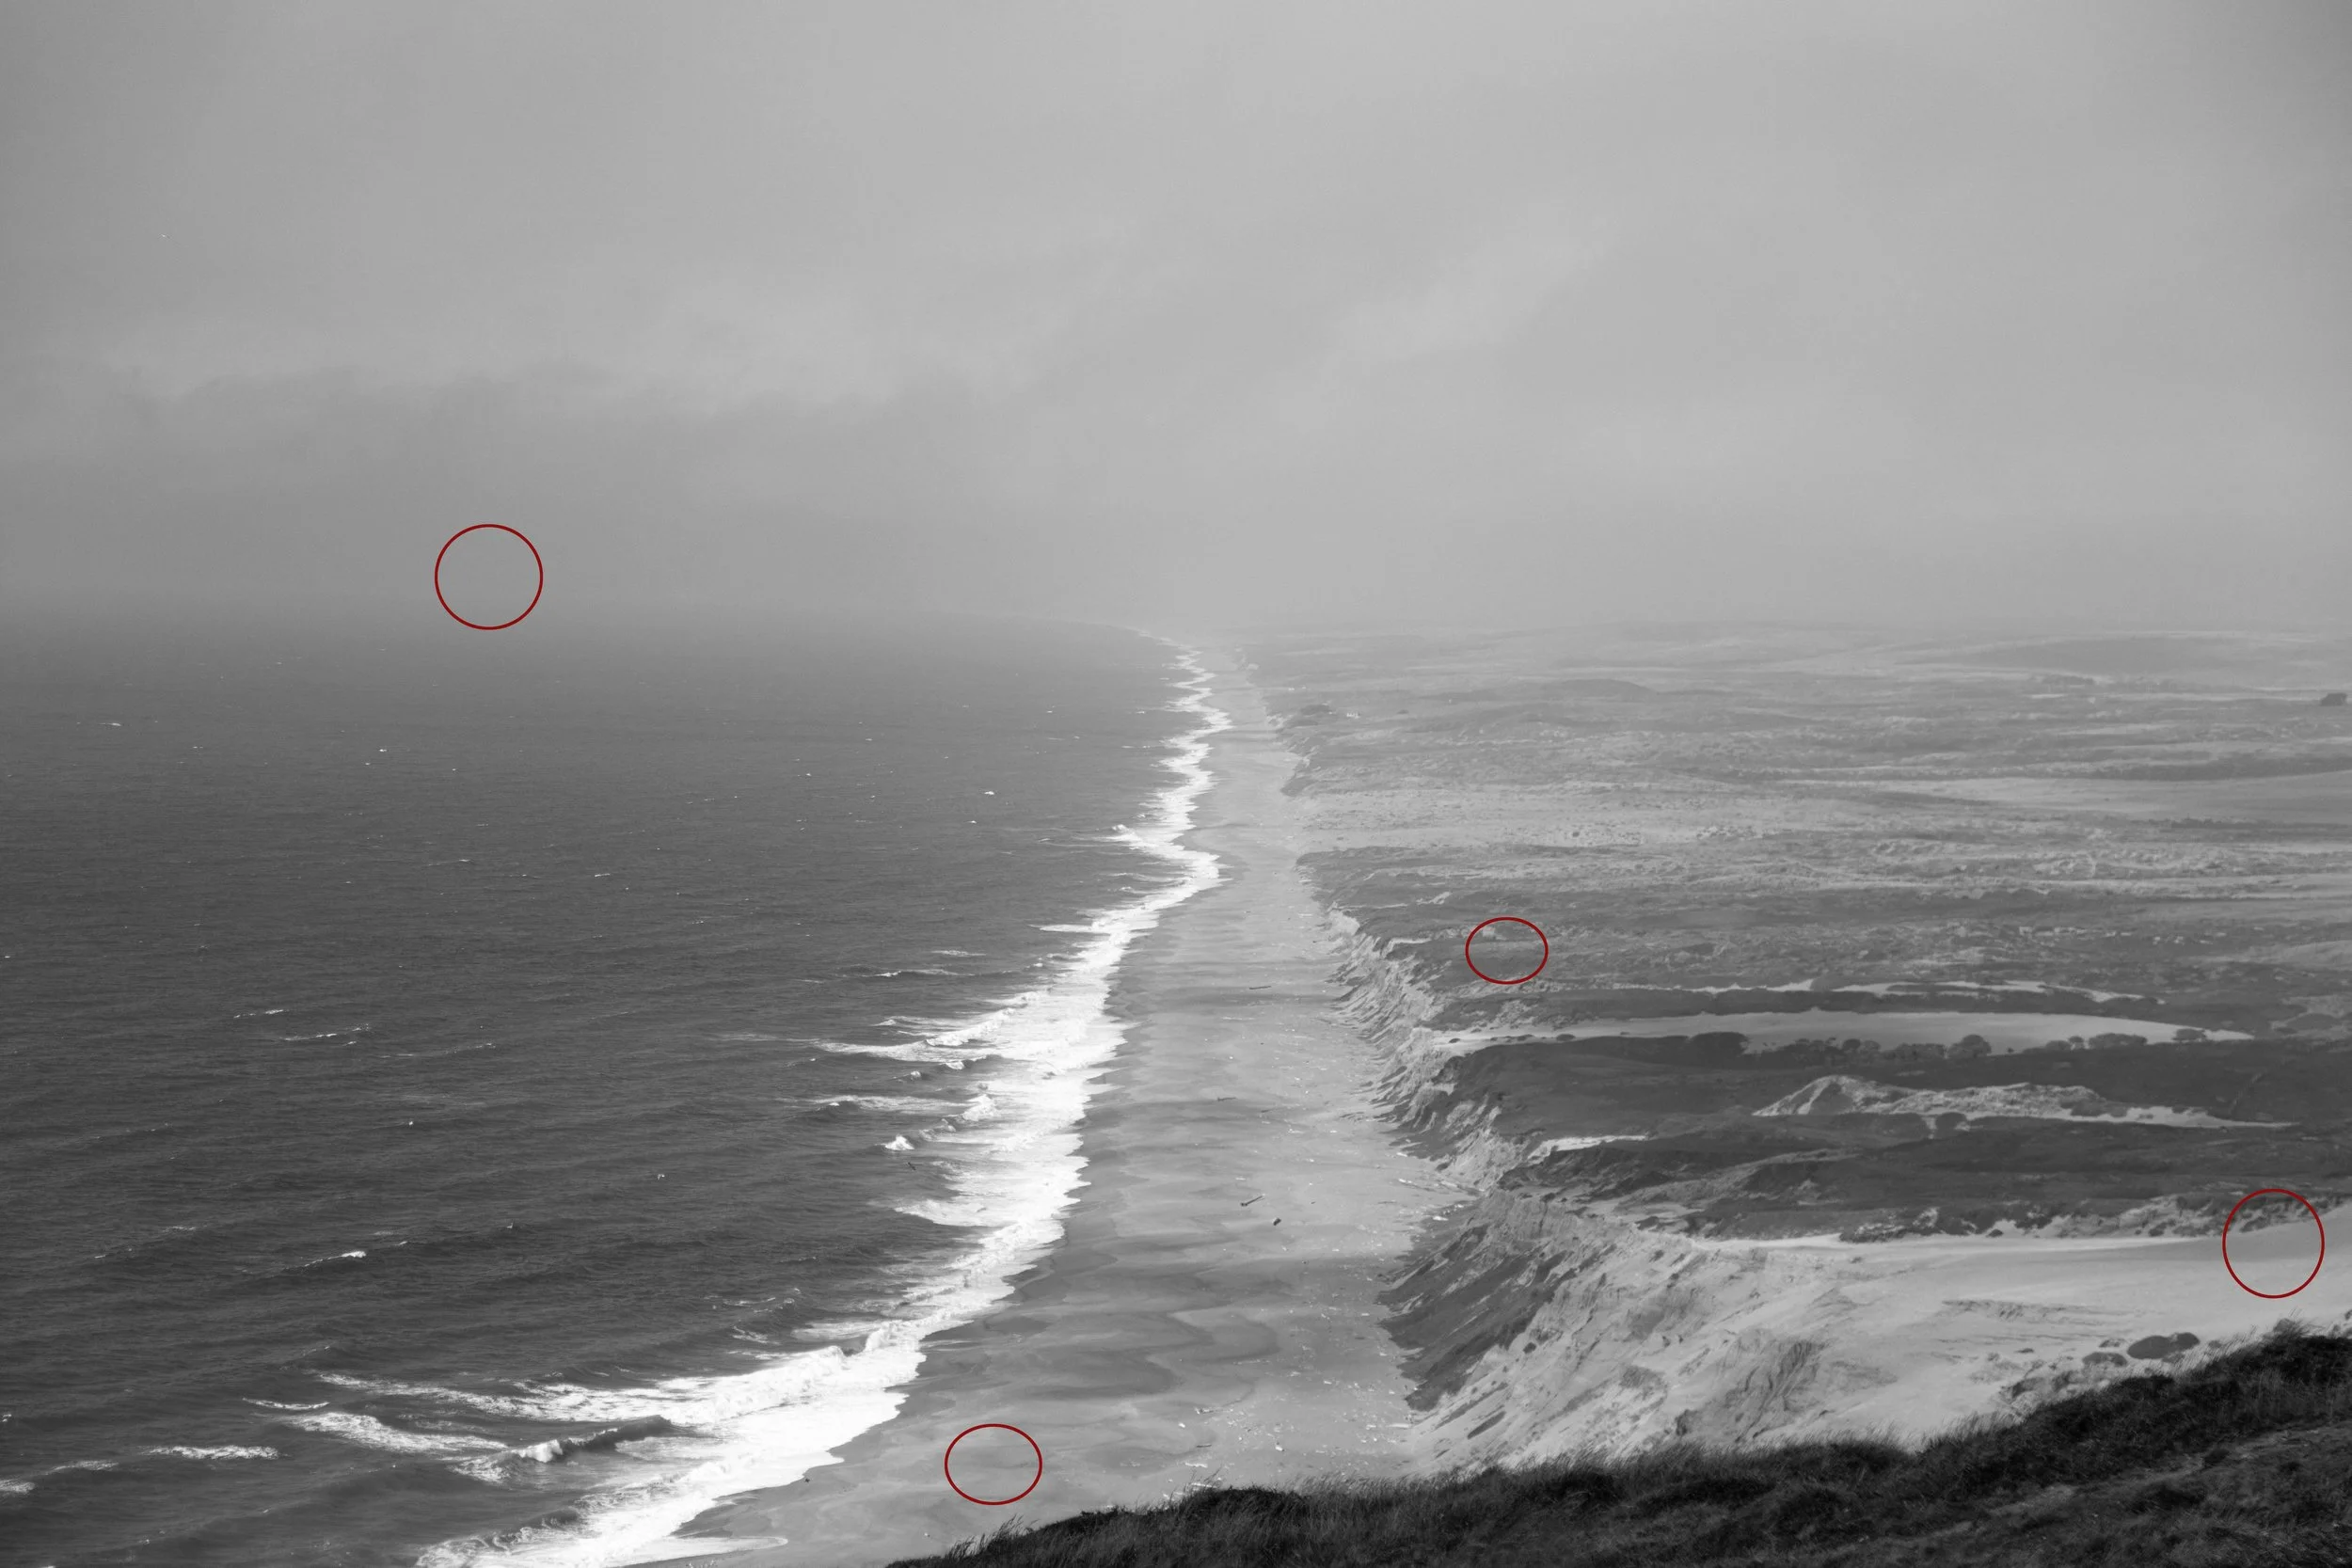
In challenging lighting conditions, The Zone System proves invaluable. For instance, during a backlit sunset scene, where shadows dominate, you can meter using darker zones. If these shadows fall into Zone II, and you know that Zone V (middle gray) is three stops away, simply adjust your settings to compensate. This allows you to maintain perfect exposure, despite tricky lighting

Whether you're a seasoned photographer or just starting out, mastering the use of gray cards and The Zone System can dramatically enhance the quality of your photos. These tools not only improve color accuracy but also empower you to handle complex lighting scenarios with confidence. Dive into these techniques, and you'll soon see your photographs transform with perfectly captured colors every time.
By understanding and applying these methods, you're on your way to capturing not just images, but stunning visual stories that truly resonate.